
I love decorating for each season, but I don’t love spending money to do so. This tutorial on how to make a seasonal wreath will allow you to swap out the flowers and piece of the wreath for each season, saving you some money!

Decorating on a Budget
For just about all of my adult life I have been decorating on a budget. From college to missionary life, now to stay-at-home mom life, the need to save money but still enjoy the things I love has always been a necessity.
Seasonal wreaths are a beautiful way to decorate your home. However, nice wreaths can be upwards of $40 each. With 4 seasons a year, that is about $160. $160 is cash I just don’t have to spend on something as simple as decor.
So I had the idea of making my own interchangeable seasonal wreath!

Swap out the peices for each season.
When I was getting ready to make a fall wreath for this year, I was watching some tutorials online. Crafters were taking artificial flowers and hot gluing them to the branches or the core of the wreath. Makes perfect sense.
I had totally intended to do this. I had my hot glue gun plugged in and all ready to go when I sat down to put my wreath together. But as I started arranging the artificial flowers the idea came to me! Why not make this a wreath that can be interchangeable for all seasons?
Hot gluing all of a sudden sounded so permanent. I realized if I continued with my original plan that wreath would forever be a fall wreath.
Instead, I started clipping, and snipping, and twisting the flowers into the wreath core, and loved the results. When winter comes around, I can easily pull out the pieces, save them for next year, and add my favorite winter pieces.

What you will need to make a seasonal wreath
The tools you need to make this wreath, are simple and minimal.
- Strong scissors or wire cutter
- A clip or pins to pin materials the wreath. I used these hair root clips, and they worked great. You will want it to be something you can easily remove with out messing up the core of the wreath come next season.
The craft supplies you will need to make this wreath:
- Wreath
- Seasonal artificial flowers. These are the ones I ordered from Michaels
- Plaid poly burlap ribbon
Easy instructions on how to make a seasonal wreath
This process could not be more simple. If you are not a crafty person and you have been reading this thinking, “Ugh I always ruin any DIY,” I promise you, you can make this wreath!
For those who do crafts often, here is a super simple explanation of what I did.
- Lay out materials.
- Cut the flowers from the prearranged bouquets
- Stick the flowers inbetween the wreath twigs, playing around with the arrangement until you get the look you are going for.
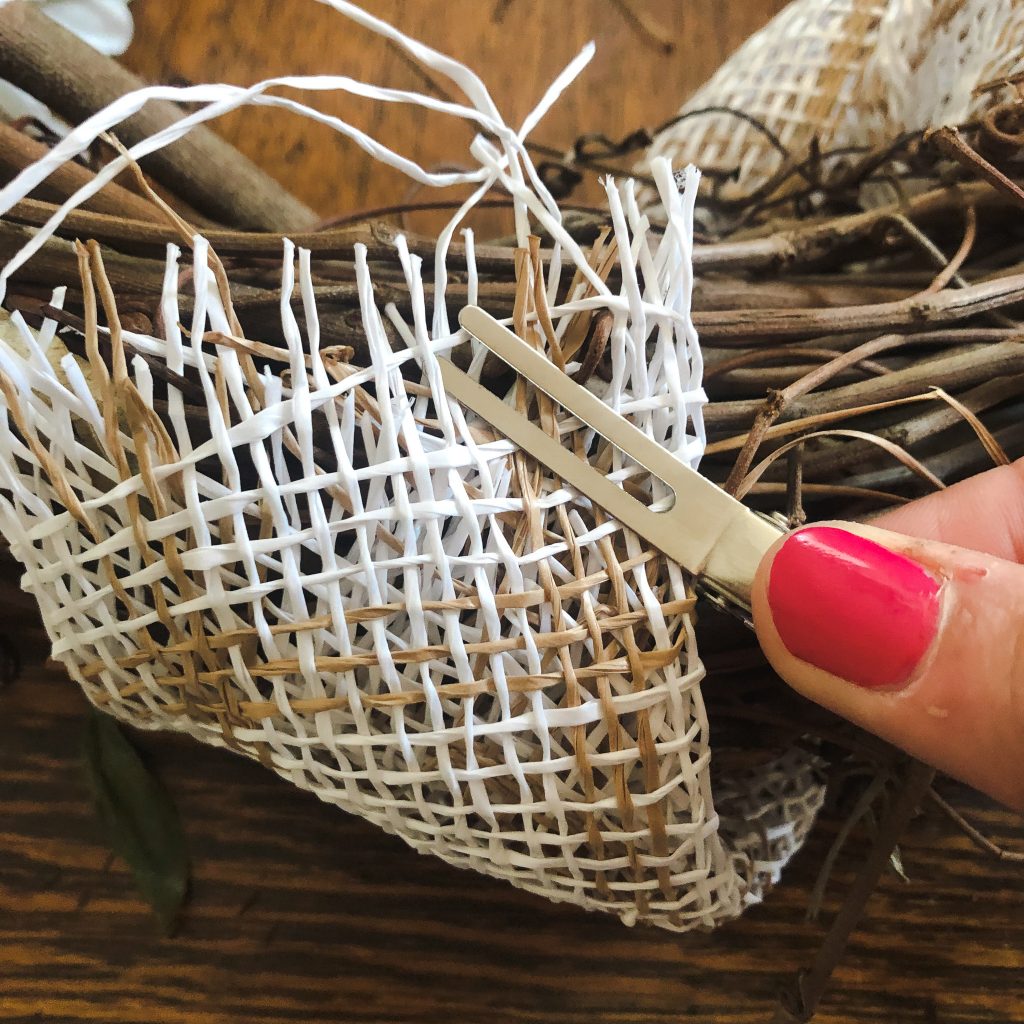
- Wrap your ribbon around the wreath in the desired position, then secure it with a pin.
- Cut a smaller portion of the ribbon and feed it through the top of the wreath to use as a hanging mechinism.
- Done!
For those who want a little more verbiage with the instructions, here are the steps and recommendations.
- First, layout all your materials so you see all that you have available. This is my favorite part of the creative process. having the blank canvas in front of you, and all the supplies. The possibilities are endless at this point.

- Second, I recommend placing your ribbon where you want it. Because this is a creative item, you can do whatever you want here. If you don’t want a ribbon, you certainly don’t have to use one. If you do have a ribbon, placing it first before the flowers will give you something secure to start placing your flowers on.
- Third, take your scissors or wire cutter and snip the stems of the flowers off of the bouquets (if you got bouquets). After each flower is snipped, start placing them in the fibers of the wreath core.
The wreath core I bought and linked to above has natural (or at least natural-feeling) twigs that make up the wreath. This makes it really easy to slide in flowers stems. Take them out and replace them. And since you aren’t hot gluing them, you can rearrange them if needed.

Lastly, cut a smaller portion of the ribbon to make a hanging mechanism. Feed the ribbon through the top of the wreath or around the top of the wreath and tie it in a nice bow.
Done!

Is this wreath weather proof?
This wreath would do well on the inside of a door, somewhere in your home, or even on an outside door. However,
if you put it on an outside door, I recommend only doing so if it is covered well by a porch/awning, or that you have it inside a screen door (like I do). You would probably want to keep it protected.
The artificial flowers and the wreath twigs will weather and decay in heavy rain or snow.
I hope you have enjoyed this tutorial on how to make a seasonal wreath! If you are new to Harbor Home join the Harbor Home community to get regular updated on homemade recipes, hospitality and simple living.

Leave a Reply