
This cinnamon sourdough bread recipe is a warm and delicious treat! Enjoy this with a cup of coffee, some butter, and honey for an incredible afternoon treat.
Why Sourdough Bread?
Sourdough bread has become a fascination of mine this last year. It has many healthy gut benefits. Also, I love the fact you can make your bread your own!
To learn more about the benefits of sourdough bread, check out my post from earlier this week.

Why make your own bread?
Making my own bread was one of the first things I tried after when Tony and I got married. At the time it seemed like a right of passage to make my family our daily bread, but I quickly found how much I enjoyed it. It is so satisfying making something I can use up right away with my own two hands. Now I can’t imagine not making my own bread.
Those of you who are regular readers of my blog know why I like making things from scratch. For those newcomers, reasons check out my other from-scratch recipes and the reasons I love cooking from scratch.
Easy Homemade Restaurant-Style Salsa
Naturally Sweetened Honey Lemonade
When it comes to making bread, I find this is one of the most cost-effective, practical foods to make. It costs pennies compared to the bread you buy from the store. And of course it’s so much healthier.
Read on for my favorite from-scratch sourdough bread recipe.

Kitchen tools you will need.
This post contains affiliate links. As an Amazon Associate I make a small commission on qualifying purchases at no additional cost to you.
Standing Mixer
Measuring Spoons
Measuring Cups
Big bowl for rising the dough
Wooden spoon or spatula
Parchment Paper
Ingredients
- 1 cup scant sourdough starter
- 3 cups flour
- 1 tbsp honey
- 1/2 tsp salt
- 1/2 cup warm water.
- 1 tbsp ground cinnamon.
Instructions
- Measure out flour, honey, salt, and starter. Put ingredients in the bowl that goes with your standing mixer.
- Using the dough hook, turn on blender to low speed to mix ingredients. As ingredients are mixing slowly, pour in warm water about 1/4 cup at a time until you get it the right consistency. The consistency should be a shaggy dough with no loose flour at the bottom of the bowl. The dough shouldn’t appear wet.
- If this happens just add a little more water (if too dry) or flour (if too wet) until you get the right consistency.
- After all the water is mixed in turn off the blender and let it sit for 15 minutes.
- After 15 minutes, come back to the blender and knead the dough in the mixture for about 5-10 minutes, until the dough passes the window pain test.
- Window pane test: rip off a part of the dough and stretch it with both hands, holding it up to the light. If it gets thin enough to see light through it, it means it is kneaded enough and the gluten has developed properly.
- Take a separate big mixing bowl or glass bowl and lightly grease with oil or butter. Put the ball of kneaded dough in the bowl.
- Cover with the bowl with cling wrap and let it rise for 8-24 hours.
- The next day, or when your first rise is done, take the dough and punch it down. It will have doubled in size.
- Mix in the 1 tbsp of cinnamon by sprinkling 1/2 tbsp at a time on top of the punched down dough. After each sprinkle of cinnamon use the stretch and fold method to mix it in, and shape the dough for the next rise.
- Place the dough in a bannton bread basket, or in another bowl and let it rise a second time. This time only for 1 hour.

10. Preheat the oven to 450 degrees Fahrenheit. Place the dutch oven in the oven so it preheats with the stove.
Baking the Artisan Cinnamon Sourdough Bread
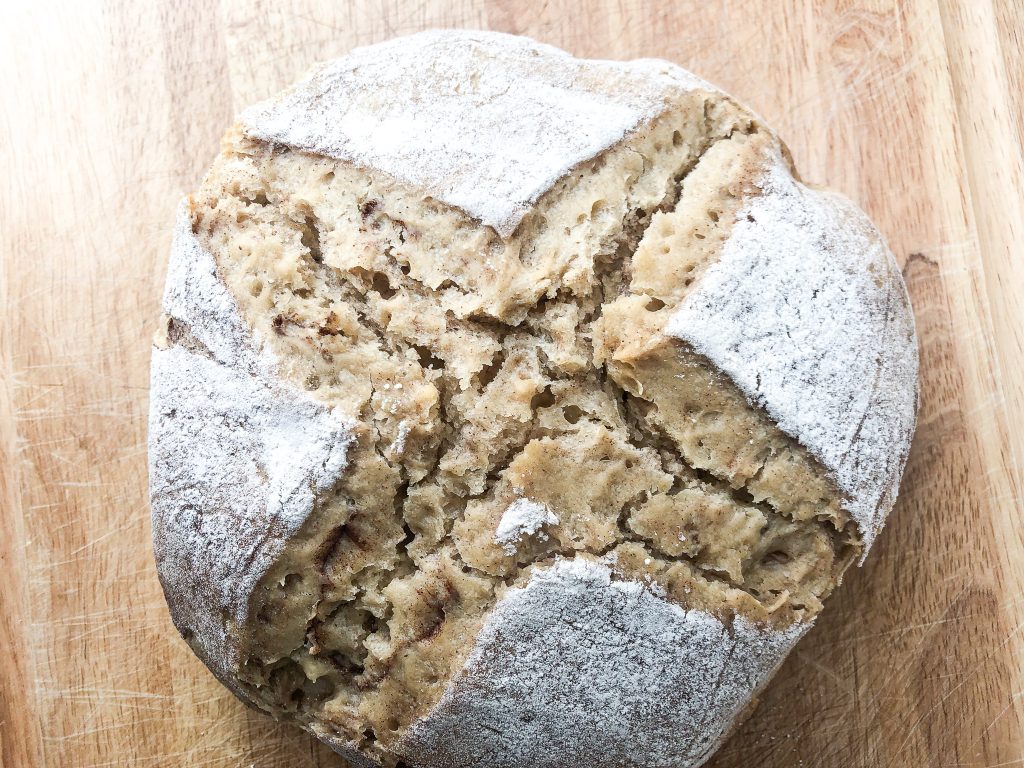
There are two tricks to making beautiful crispy artisan loaves. First, score your bread. You can get really fancy with this, or you can do a simple cross-section like I have on mine below. It will open up your bread and allow for the bread to expand and make those beautiful air pockets as it bakes.
The second trick is using the dutch oven. The dutch ovens create a steaming effect that allows for the bread to get nice and puffy. Then when you remove the lid halfway through baking, it creates that crisp.
I have only ever made my breads in dutch ovens, and wouldn’t have it any other way. I have heard you can make the same effect work with a cast iron skillet by setting a pan of water on the rack below the cast iron. The water creates the same steaming effect you get with the dutch oven.
In my opinion, dutch ovens are worth every penny of the investment! I also talk about this in my Homemade Thai Soup Broth recipe post.
Baking the Artisan Cinnamon Sourdough Loaf..
11. After the oven and dutch oven are preheated, prepare a large piece of parchment paper and place the dough on it. Remove the lid of the dutch oven (with oven mitts) and place the parchment paper and dough in the dutch oven
12. Put the lid on again and place it in the oven. Set a timer for 20 minutes.
13. After 20 minutes is up, check the bread by removing the lid to the dutch oven. If it’s starting to look crispy, keep the lid off and put it back in the oven for 15 minutes. If it does not look like it’s beginning to crisp, put the lid back on and cook for another 10 minutes. Check it again. When it looks like it’s beginning to crisp, remove the lid and put it back in the oven for another 15 minutes.
14. After the bread is done baking remove it from the dutch oven by grabbing the parchment paper, or taking it out with your oven mitts on.
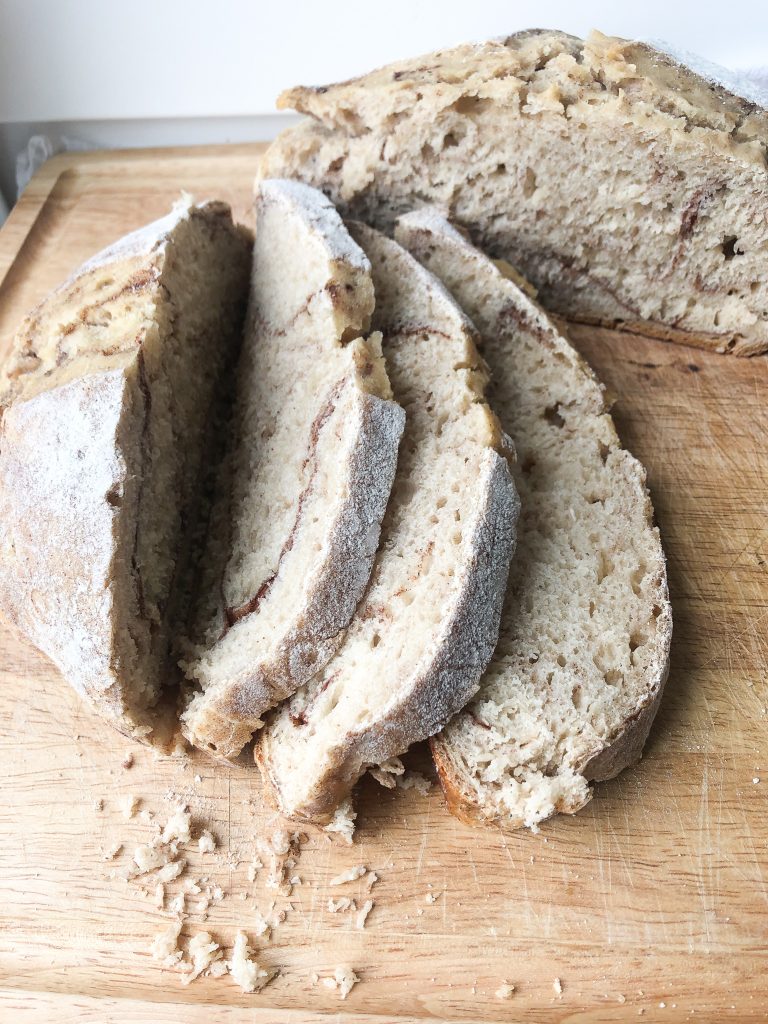
15. Set it to cool on a cutting board for about 30 minutes before cutting into it. This will allow all the air to fill out the bread, finishing those delicious air pockets.
16. Enjoy all your hard work!
Pairs well with:
I have found this delicious artisan cinnamon sourdough bread pairs great with:
- butter and honey, with a side of coffee
- peanut butter and a side of coffee
- makes a great peanut butter and jelly sandwhich as well.
I hope you have been inspired to make your own artisan cinnamon sourdough bread!
If you try it, make a comment below and let me know how you liked it!

Artisan Cinnamon Sourdough Bread
Equipment
- Standing Mixer
- measuring spoons
- Measuring Cups
- Big bowl for rising the dough
- Wooden spoon or spatula
- Parchment Paper
- Dutch Oven
- Cling wrap
Ingredients
- 1 cup scant sourdough starter
- 3 cups flour
- 1 tbsp honey
- 1/2 tsp salt
- 1/2 cup warm water
- 1 tbsp ground cinnamon
Instructions
- Measure out flour, honey, salt, and starter. Put ingredients in the bowl that goes with your standing mixer.
- Using the dough hook, turn on blender to low speed to mix ingredients. As ingredients are mixing slowly pour in warm water. about 1/4 cup at a time until you get it the right consitancy. The consistency should be a shaggy dough. and no loose flour at the bottom of the bowl. But the dough shouldn't appear wet. If this happens just add a little more water (if too dry) or flour (if too wet) until you get the right consistency.
- After all the water is mixed in turn off the blender and let it sit for 15 minutes.
- After 15 minutes is up, come back to the blender and knead the dough in the mixture for about 5-10 minutes, until the dough passes the window pain test.
- Window pane test: rip off a part of the dough and stretch it with both hands, holding it up to the light. If it gets thin enough to see light through it, it means it is kneaded enough and the gluten has developed properly.
- Take a separate big mixing bowl or glass bowl and lightly grease with oil or butter. Put the ball of kneaded dough inthe bowl.
- Cover with the bowl cling wrap and let it rise for 8-24 hours.
- The next day, or when your first rise is done, take the dough and punch it down. It will have doubled in size.
- Mix in the 1 tbsp of cinnamon by sprinkling 1/2 tsbp at a time on top of the punched down dough. After each sprinkle of cinnamon use the stretch and fold method to mix it in, and shape the dough for the next rise. Place the dough in a bannton bread basket, or in another bowl and let it rise a second time. This time only for 1 hour.
- Preheat the oven to 450 degrees farenheight. Place the dutch oven in the oven so it preheats with the stove
- After the oven and dutch oven are preheated, prepare a large piece of parchment paper, and place the dough on it. Remove the lid of the dutch oven (with oven mits) and place the parchment paper and dough in the dutch oven
- Put the lid on again and place it in the oven. Set a timer for 20 minutes.
- After 20 minutes is up, check the bread by removing the lid to the dutch oven. If it’s starting to look crispy, keep the lid off and put back in the oven for 15 minutes. If it does not look like it’s beginning to crisp, put the lid back on and cook for another 10 minutes. Check it again. When it looks like it’s beginning to crisp, remove the lid and put back in the oven for another 15 mintutes.
- After the bread is done baking remove from the dutch oven by grabbing the parchment paper, or taking it out with your oven mits on.
- Set it to cool on a cutting board for about 30 minutes before cutting into it. This will allow all the air to fill out the bread, finishing those delicious air pockets.
- Enjoy all your hard work!
Leave a Reply